Electronics
Now let’s get our hands dirty and step fully into the world of electronics and microcontrollers — all while continuing to think in components. We’ll explore how a microcontroller reads buttons, sends button states, controls lights, and manages MIDI in and out. Unfortunately, this section can’t be cleanly separated into neat silos, because electronics naturally blends different areas:
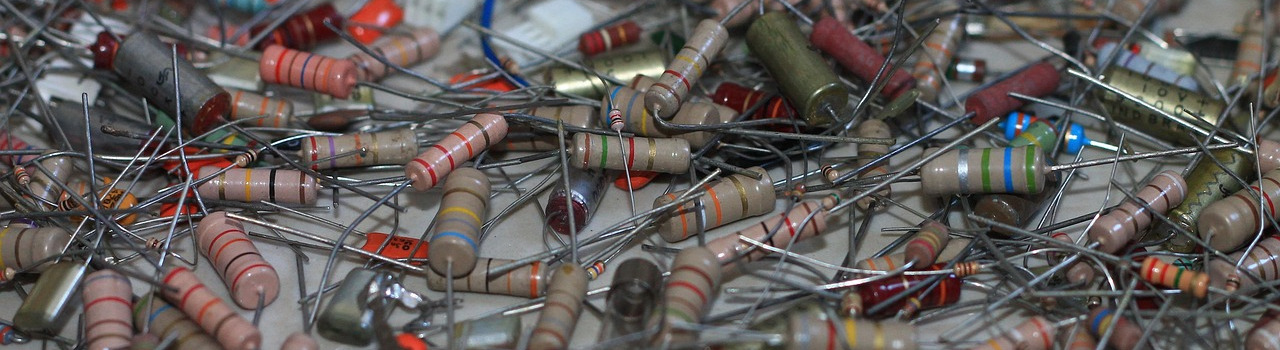
Resistors and transistors come together to form circuits.
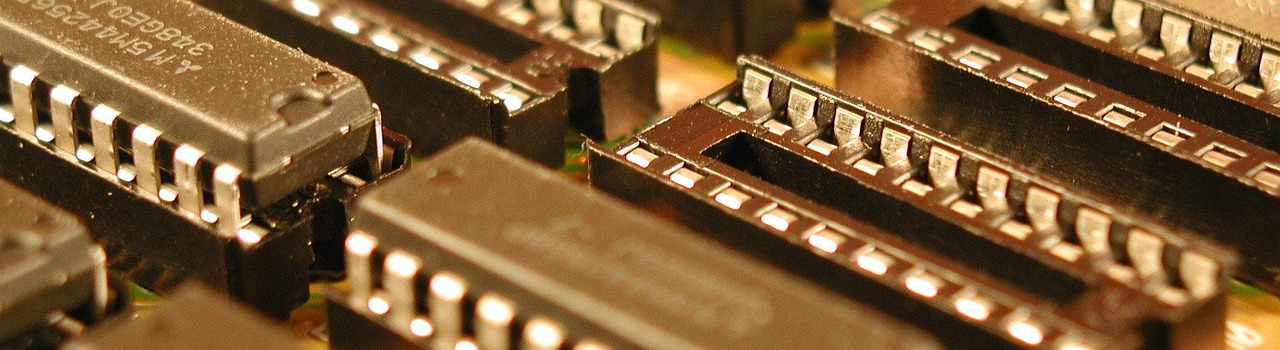
These circuits get combined inside ICs
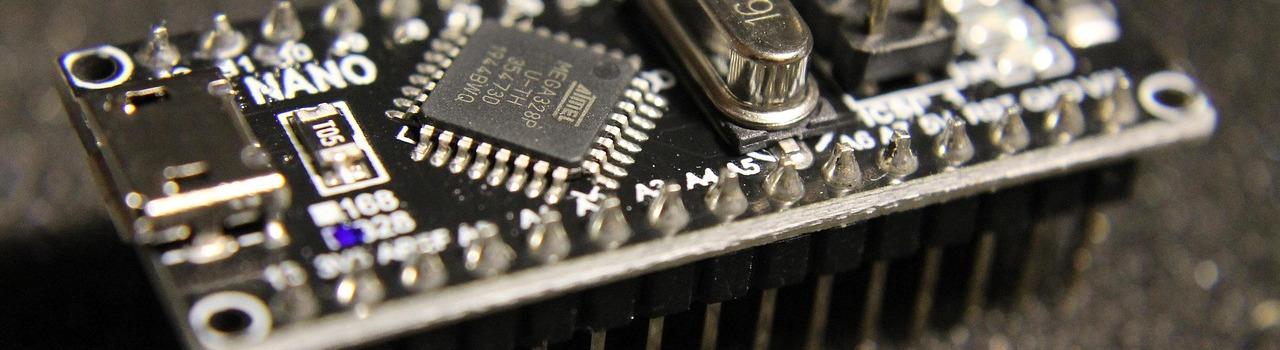
And a collection of ICs can become something as powerful as an Apple IIe motherboard or as compact as a modern microcontroller.
All the circuits we build for our DIY pedal board — like the button matrix or MIDI I/O — are completely useless on their own. They only come alive when paired with software running on a microcontroller. This software, connected through GPIO pins, is what transforms passive electronics into an active, responsive, and ultimately musical device.
And now?
In the next sections, we’ll explore:
If you are interested in Microcontroller details based on Arduino Nano:
- Arduino overview to get a more basic Arduino foundation
- Arduino Processor basics take a deeper dive into the language of an AVR — the processor at the heart of an Arduino Nano
- AVR Cycles, Opcodes, Instructions In that deep dive, you’ll learn how to disassemble a high-level C++ program, and even decipher raw opcodes and instructions
We look at Ports and Communication:
In the next (upcomming) sections, we’ll explore:
- TBD: USB: how to detect, connect, and communicate with our main brain device
- TBD: MIDI I/O: sending, receiving, filtering, and transforming MIDI messages
- TBD: GPIO: connect our button matrix
- TBD: RGB LED control: from subtle status indicators to full-on stage light effects
Or:
Each topic will come with practical examples, code insights, and real hardware use cases — because blinking LEDs are fun, but controlling a rig like a pro is even better.