Prototyping outside the box?
Whenever you’re working with software or hardware that’s built from components or building blocks, it’s important to stay focused — but equally important to step back occasionally. Take a breath. Question your tools. Reevaluate your implementation, your goals, and the path you’re taking to reach them.
The next section offers a few examples of how using tools in ways they weren’t originally intended can sometimes lead to the most elegant — or at least the most fun — solutions.
LCD: A Retro Display With a Hidden Talent
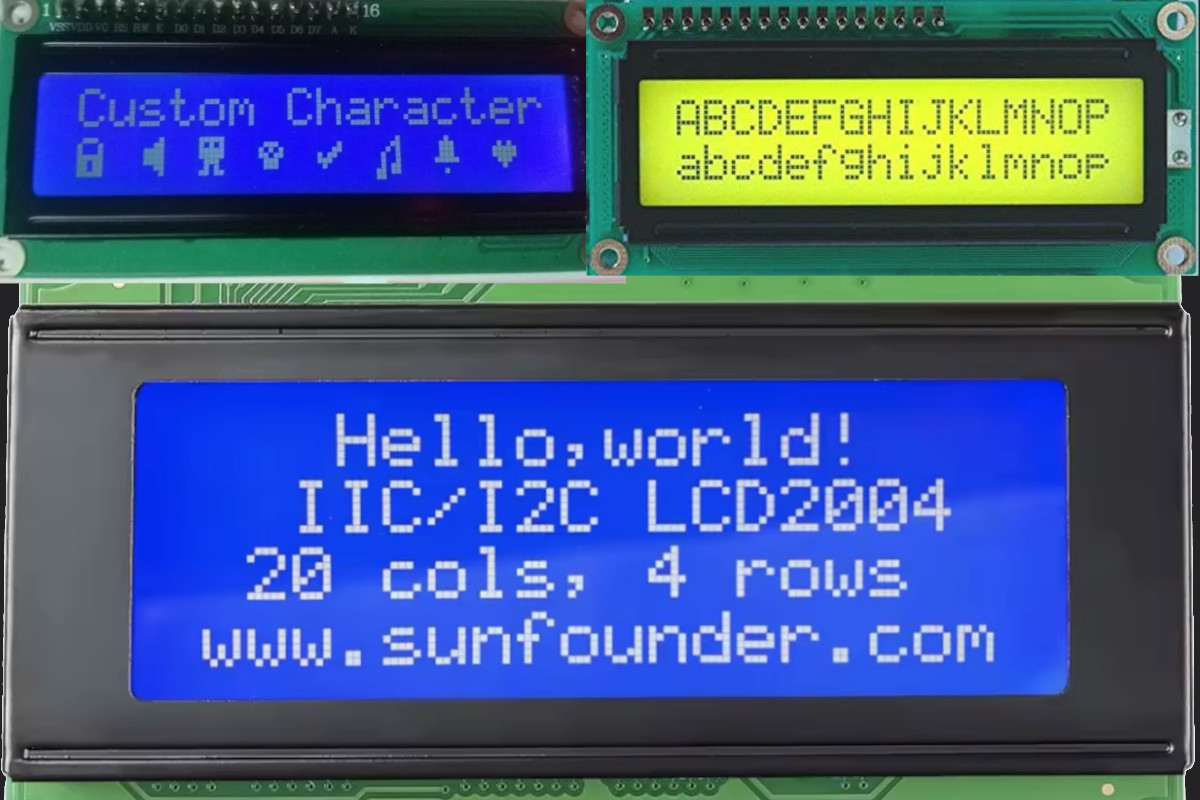
As mentioned earlier, LCDs might be outdated by modern display standards — but they’re still incredibly useful in certain lighting conditions, especially outdoors or on a brightly lit stage. A standard character LCD typically supports 1 to 4 rows, with 16 to 40 characters per row. Not flashy, but functional. And best of all: they offer the glorious, hidden power of 8 user-defined characters.
And let’s be honest —
– “User-defined characters” to a developer are what treats are to a dog.
Big Fonts on Small Displays
Since our DIY MIDI-Music-Workstation Pedal Board lies on the floor, there’s always some distance to the eyes. To solve this, we can use those 8 custom characters to build “Big Font” support — by combining them across multiple rows and columns.
Say we want to build a 2x3 font: 2 rows high, 3 columns wide per character. But designing these characters by hand — on paper — is, well, painful. So here’s where the “outside-the-box” (different domains) thinking comes in:
Tile maps from the 70s
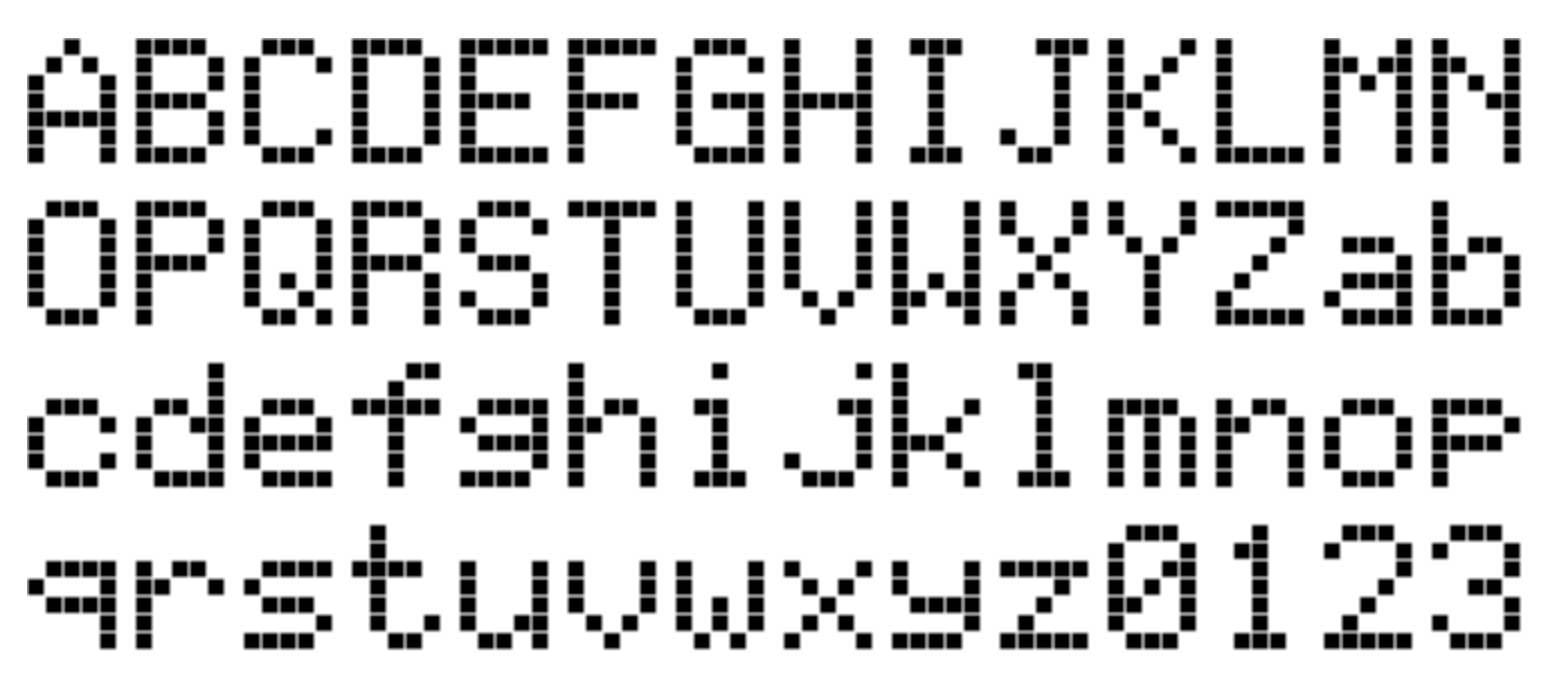
Look closely at a 20x4 character LCD (20 characters per row, 4 rows). You’re staring at a tiny tile map — 80 characters in total, each a little 5x7 pixel grid.
And that should ring a bell for retro gamers and system programmers alike. This is exactly how our first graphics cards worked in the 70s and 80s. They didn’t store full bitmaps. They used character sets and tile maps to save memory. Let’s do the math…
A full display using character sets requires:
20 x 4 = 80 bytes (1 byte per character as index to the character set consisting of 256 characters)
The same data as a raw bitmap (5x7 pixel grid per character) takes:
20 x 4 x 5 x 7 = 2800 bits → ~350 bytes with bit packing
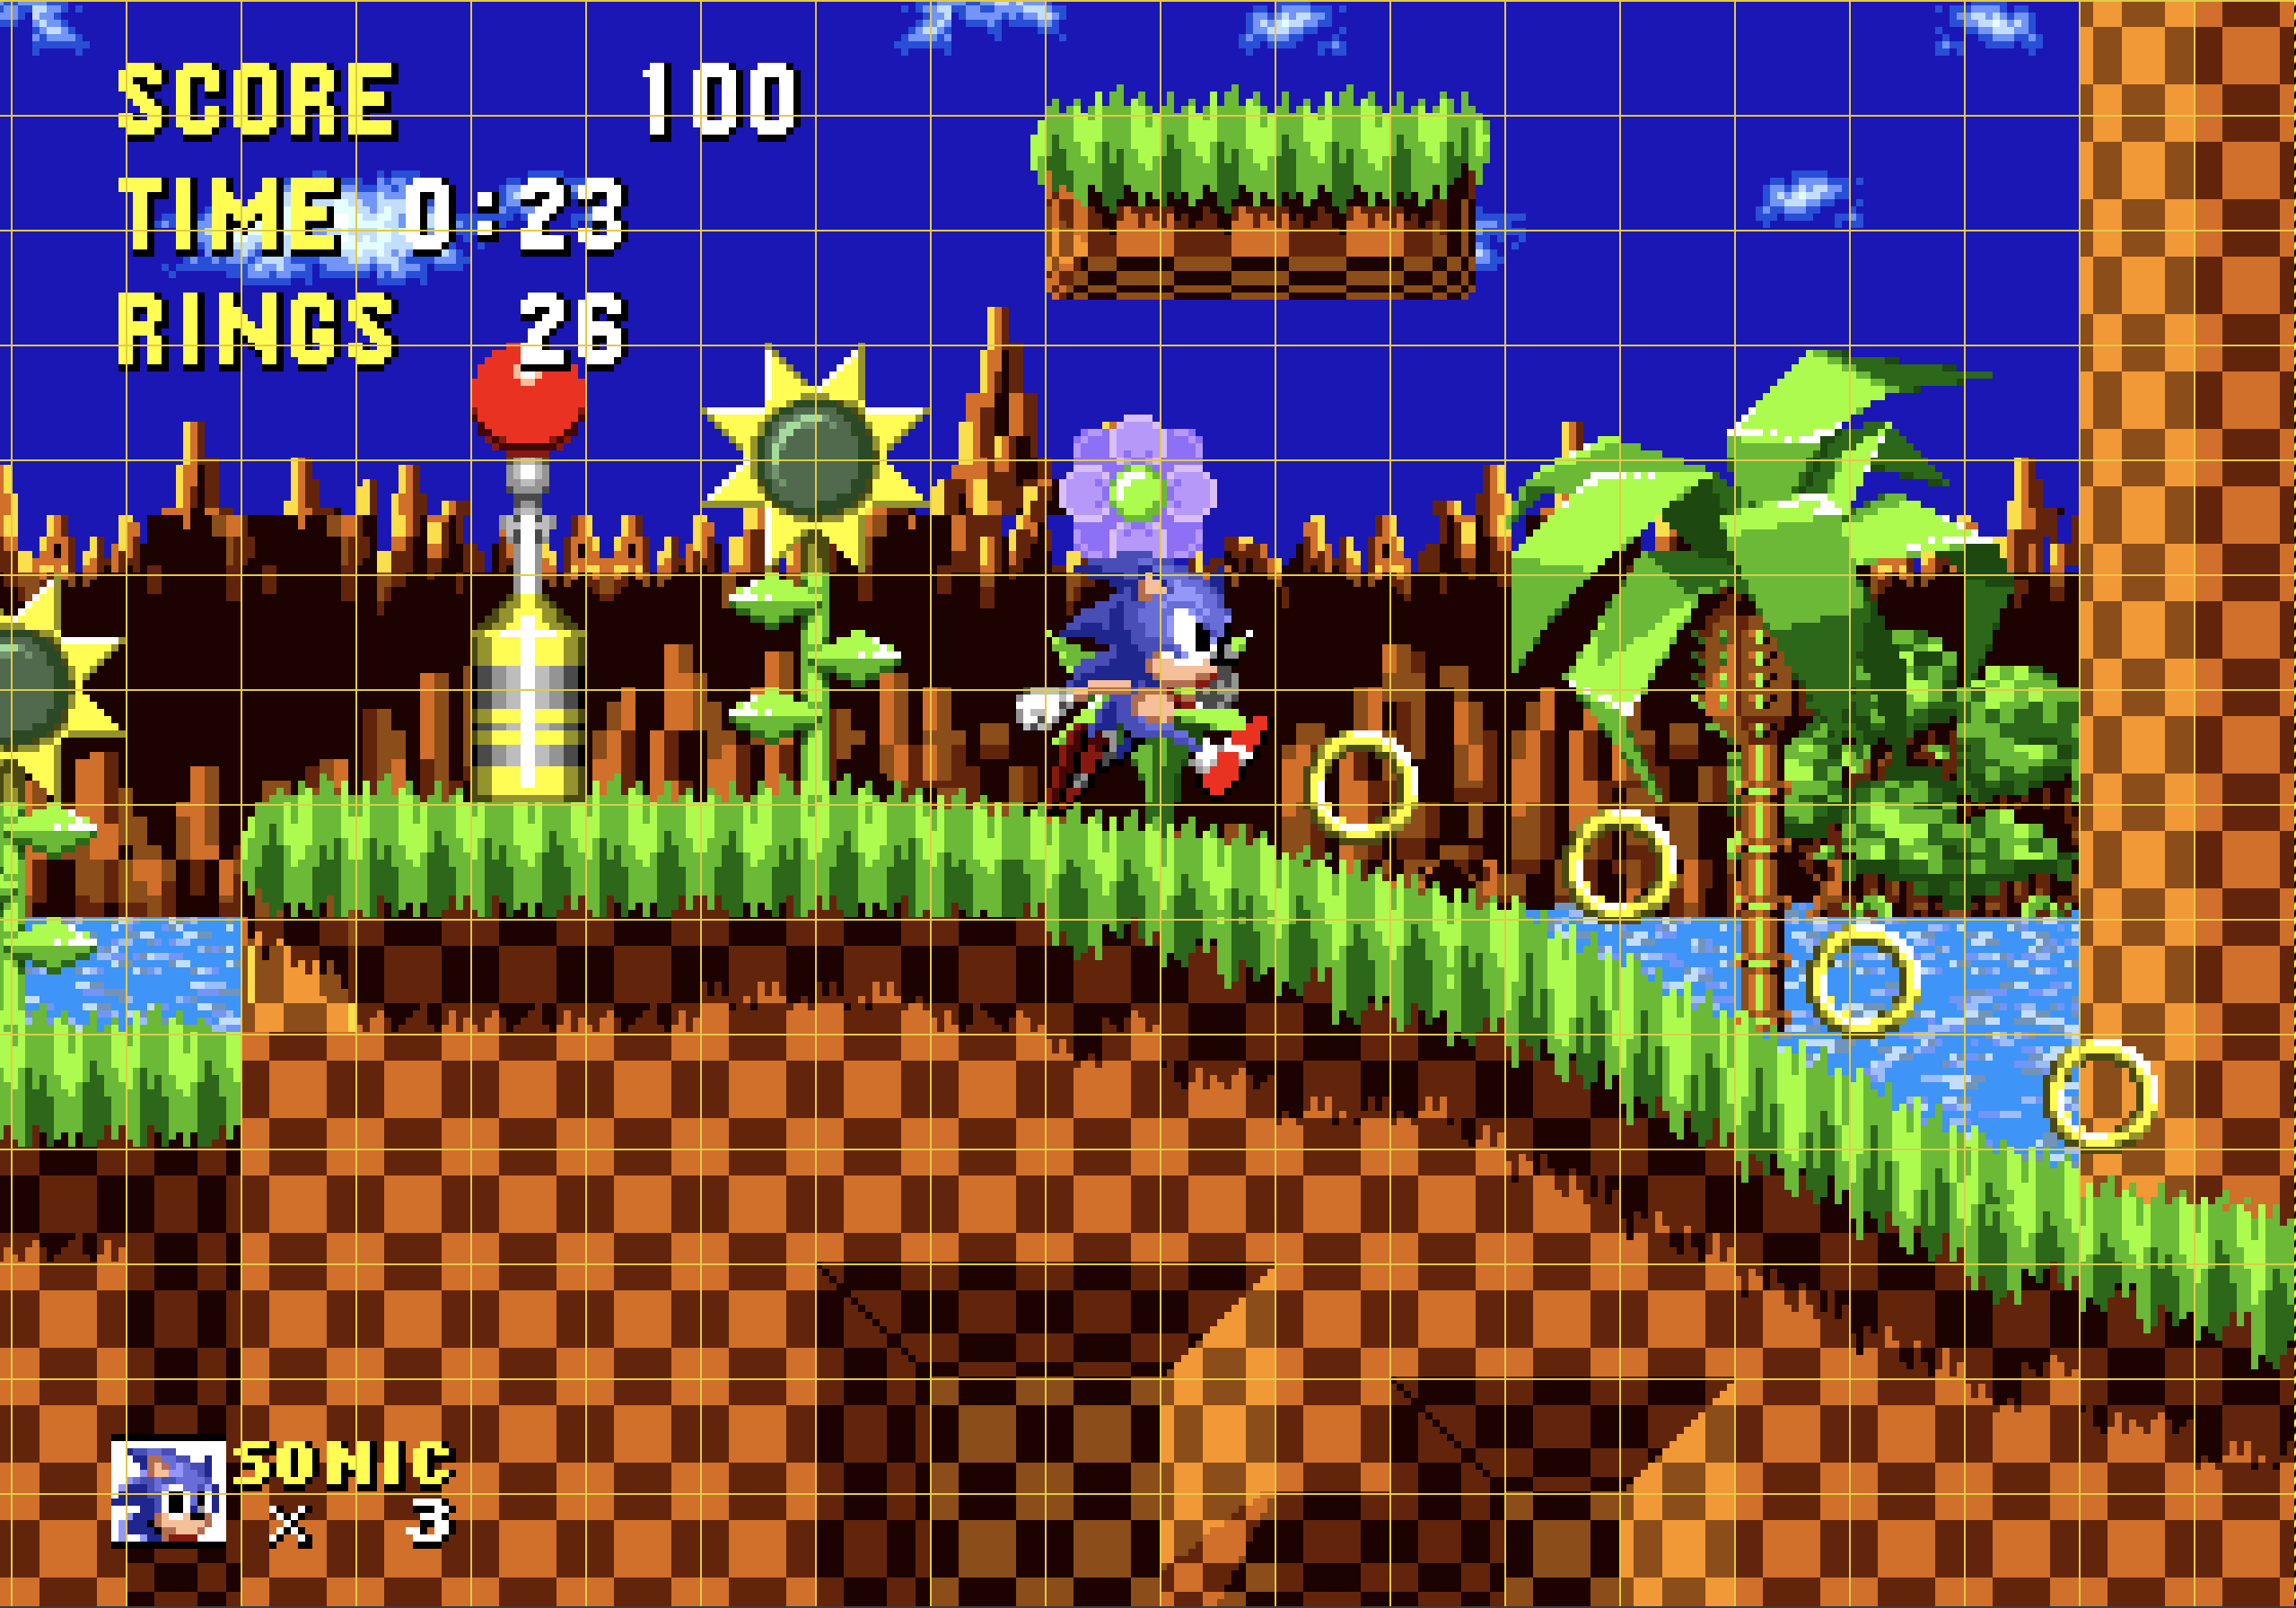
That’s 4.375x more memory, just to represent the same screen — and now you understand why arcade games (even as late as Sonic the Hedgehog) used tile maps.
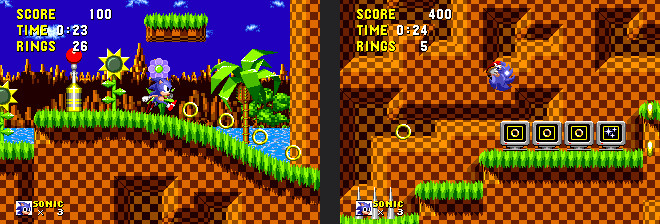
Look carefully at any Sonic screenshot and you’ll spot repeating tiles everywhere.
The tile map technique is still with us — and so is the logic behind it.
Modern Tools, Repurposed
Why is this relevant?
Because there are plenty of tile map editors out there. And if we treat our 8 user-defined LCD characters as tiles, we can lay them out in a tile map grid to visually design large characters — exactly like game devs used to do.
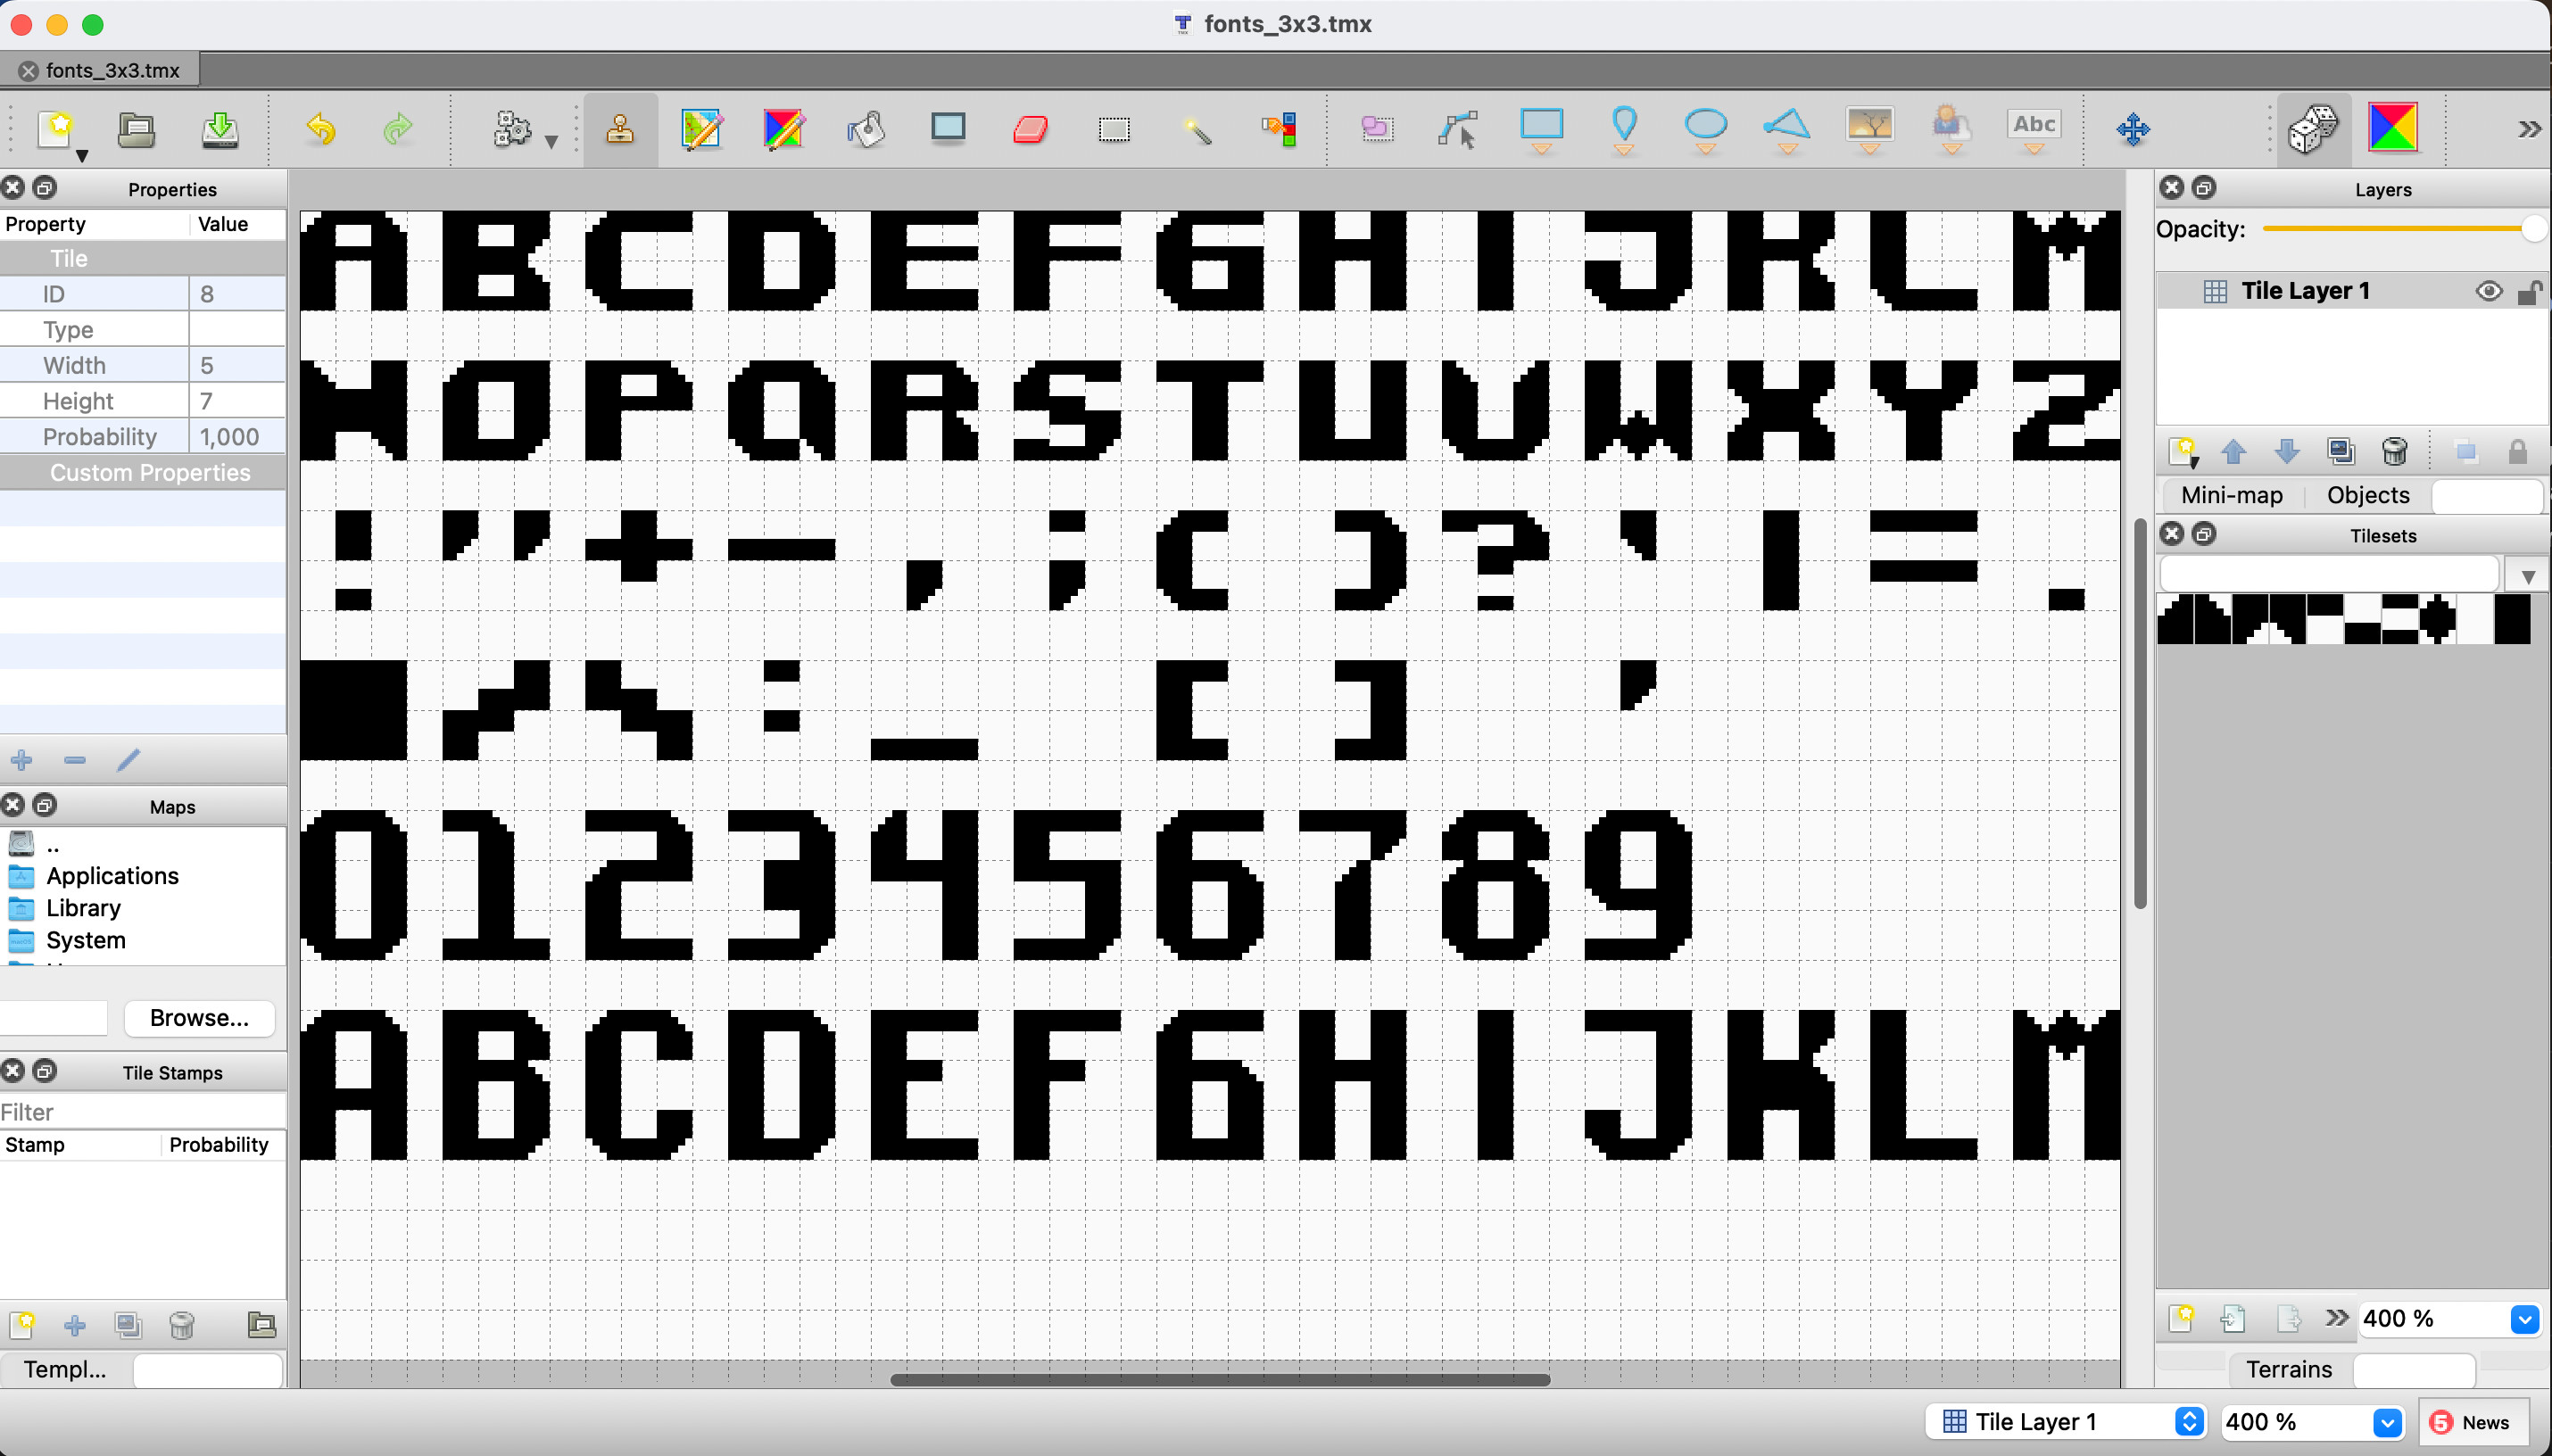
Later, we can use a small program to calculate the bit patterns for each custom character and generate the LCD font definitions automatically.
Different tool. Different domain. Perfect solution.