From Bird’s Eye to Building Blocks
Zooming out gives us a high-level understanding of how the device naturally breaks into modular components each with a distinct responsibility.
Here’s a first breakdown of the core I/O subsystems and their roles:
Front view
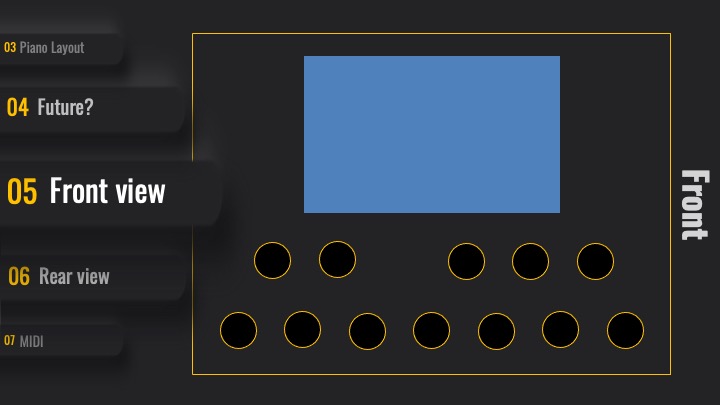
Foot Pedal Buttons
These act as output components that send press/release events to other modules. Now here’s a question worth pausing on: How do we represent this data internally? We could define our own protocol — something like “Button 1 pressed” over a custom API. But there’s also a smarter route: treat the entire foot controller buttons as a MIDI device itself. If we can convince an Arduino (or similar microcontroller) to behave like a MIDI-compliant USB device, integration becomes almost effortless. Always think in reusable, swappable components, regardless of software or hardware.
UI and MIDI Processing
This will be a major focus of its own. The UI and processing layer handles all real-time interactions, message transformation, routing logic, and visual feedback. Think of it as the conductor — orchestrating everything from button presses to SFZ playback.
Rear view

MIDI (Hardware & Data)
Handles traditional DIN MIDI connectors, manages the serial interface, and transfers MIDI data between components. It’s the backbone for communication with external MIDI gear.
LCDs?
LCDs may help to read device messages even in bad lighting conditions.
Want to see Hardware LCD in action?
Or are you more interested in JavaFX Software simulated LCDs?
USB Device Handling
USB isn’t a core topic here, but it still plays a support role. The system needs to detect device connections/disconnections, track connected peripherals, and trigger a MIDI device list refresh whenever a new USB MIDI device shows up — even if no MIDI event has occurred yet.
Network Connectivity
Not essential for a pedal board — unless you’re developing. Thanks to the API-driven architecture (details coming later), remote access becomes possible. This means you can test and tweak the system from your desk, even if the pedal board is stationed on the other side of the studio next to my keyboard rig.
Components

Sometimes, a picture truly says more than a thousand words.
Take the work of Dutch artist Paul Veroude, who famously “exploded” a Formula 1 racing car into its individual components — suspending each part mid-air. The result? A stunning visual that reveals the intricate architecture beneath the surface. Every single component from engine, gearbox, suspension to electronics is visible, distinct, yet clearly connected.
It’s a perfect metaphor for modular design: Each part has a clear purpose, a well-defined interface, and fits seamlessly into the bigger picture without depending on how the other parts were made. That’s exactly how we should think when designing hardware and software systems.
How Do Components Interact?
When dealing with several functional blocks, the concept of a microservice naturally comes to mind. In software architecture, a microservice is a small, independently deployable service focused on a single business capability. But in our case, we stretch that definition — and include hardware, too.
Typically, microservices run on a single machine or scale across multiple systems. In our pedal board, all components live inside the same data warehouse (aka the pedal board itself), but behave like microservices: completely independent, communicating via network, USB, I²C, or serial interfaces.
Key Characteristics (Adapted to Hardware + Software)
- Single Responsibility Each microservice is responsible for one specific function (e.g., MIDI handling, LCD output, etc.)
- Loose Coupling Services are loosely connected. Changes in one rarely require changes in another. This aligns with the Open/Closed Principle: extendable, not modifiable.
- Polyglot Programming Each component can be developed in the language or framework best suited for the task — from C++ to Dart, Java.
- Own Data Management Every microservice manages its own data, state, and the underlying hardware (LCD, MIDI IN/OUT, buttons…).
- Lightweight Communication Components talk via simple and efficient protocols like REST, WebSockets — or even plain text messages. (No Kafka here. We’re not Google.)
Testing
One of the real perks of using a component-based (or microservice-inspired) architecture is this: you can easily mock individual parts.
By creating a “fake” microservice that mimics the behavior of a real component — like the MIDI processor or LCD driver — you can test and prototype the UI without needing any physical hardware at all. As long as the interface (think: API, message format, behavior) stays the same, the rest of the system doesn’t care.
This approach is not only great for rapid development, but also perfect for debugging, running headless simulations, or designing the UI while waiting for the soldering iron to cool down.